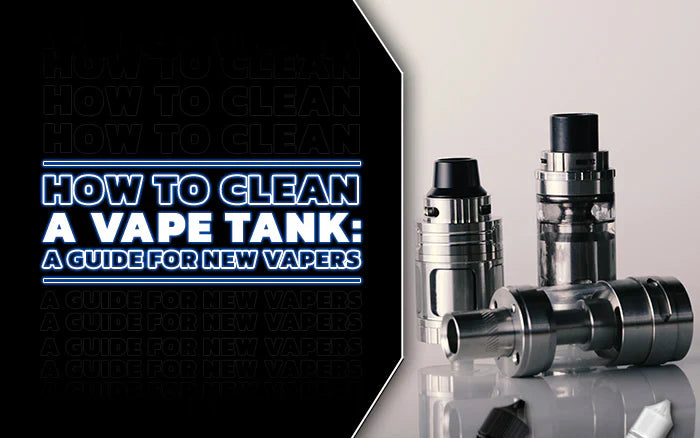
How To Clean a Vape Tank: A Guide for New Vapers
Andres RomanShare
If you're new to vaping, you might be wondering how exactly you're supposed to clean a vape tank without breaking something—or your patience. In today’s blog, we’ll walk you through simple (and not-so-simple) ways to clean your vape tank so it’s fresh and ready for new vape juice. Whether you’ve got a box mod, a sub-ohm setup, or just one of the best vape tanks lying around, we’ve got you covered.
So, if you’re ready to ditch that weird flavor mix from your last few juices, let’s get to it.
1. The Water Rinse (AKA: The Easiest Method)
If your tank is fairly new or just needs a quick refresh, warm water is your new best friend.
Here’s the low-effort way to do it:
- Take apart your vape tank. Pay attention to where everything goes so you don’t end up playing vape Tetris later.
- Rinse each piece under warm running water.
- Dry everything off with a paper towel and let it air dry completely.
Got more grime than you thought? Go a step further:
- Fill a bowl with hot (not boiling) water.
- Soak your tank parts in it until the water cools down.
- Dry and air-dry again. That’s it!
2. The PG Rinse (Flavor Reset Mode)
Still tasting “Blue Raspberry Mango Mystery” even after a rinse? Time for the PG rinse.
Propylene glycol (PG)—yep, one of the main vape juice ingredients—is great for cleaning flavor residue out of your tank.
Here’s how to use it:
- Grab some high-quality PG (no VG here—VG is too thick and sweet).
- Fill a bowl with PG and drop in your disassembled vape tank parts.
- Let them soak for at least one hour.
- Dry with a paper towel and let them air out until there’s no residue left.
Your flavor ghosts? Officially evicted.
3. The Vodka Rinse (For the Stubborn Stuff)
This one’s for vape tanks that need serious TLC.
- Pour cheap vodka into a bowl or cup (save the top-shelf stuff for shots).
- Soak your tank parts for 1–2 hours.
- After the soak, wipe everything down with a paper towel.
- Let all the parts air dry completely before reassembling.
Vodka works as a solid cleaning agent, cutting through gunk and grime like a champ.
4. The Ultrasonic Cleaner (The Fancy Way)
Want to feel like a vape scientist? Try an ultrasonic cleaner—yep, the kind used for jewelry.
- Fill it with water.
- Drop in your disassembled tank.
- Let it run in 10-minute cycles until everything looks spotless.
- Dry with a paper towel and give it time to air dry fully.
It’s a bit of an investment, but if you’re using the best vape tanks regularly, it pays off in performance and longevity.
Bonus Tip: Q-Tips to the Rescue
For those hard-to-reach nooks inside your vape tank, grab a Q-tip. All four methods above can be paired with some gentle swabbing to make sure every bit of gunk gets wiped out.
Why Clean Your Vape Tank, Anyway?
Because nothing ruins a fresh juice like leftover flavor funk. A clean vape tank means:
- Better taste
- Longer-lasting coils
- Fewer clogs and leaks
- A happier vape life overall
It doesn’t have to be a hassle—just add it to your regular routine.
New to Vaping? Read These Next:
If you're just getting started, we’ve got more guides to help you out:
- The Complete Beginner’s Guide to Vaping
- How Do Vapes Work?: A Simple Guide for Beginners
- What To Buy As a Vape Beginner: The Best Devices and Vape Juice
Whether you're learning how to clean a vape tank or picking your first device, we’ve got the info to get you started right.
Ready for a cleaner, better-tasting vape experience? Get to rinsing! And if you’re looking for fresh gear or new juice, check out our latest deals on the homepage.
EjuiceDB articles and blogs are meant to entertain and educate. However, we are not medical professionals and do not intend to give medical advice through them. Furthermore, Vaping products and nicotine use are only meant for persons over the age of 21.
Children, breastfeeding and pregnant women, persons with risk of heart disease, high blood pressure, diabetes, or that take medications especially for depression or asthma should not use nicotine or vaping products. Always consult a licensed physician prior to use.
